Running OpenClaw in Docker
I'm not brave enough to run OpenClaw (aka Clawdbot aka Moltbot) directly on my Mac, so I decided to try running it in a Docker instead container.
OpenClaw has Docker support out of the box, described on this page of their documentation. Here's what worked for me.
First, clone their GitHub repository:
git clone https://github.com/openclaw/openclawIt contains a script for running OpenClaw in Docker called docker-setup.sh which in turn uses Docker Compose and their docker-compose.yml file.
The script will create two folders directly on your Mac which will then be mounted as volumes in the Docker container:
-
~/.openclawis the configuration directory. This will eventually contain OpenClaw memory, configuration, third party API keys, etc. -
~/openclaw/workspaceis the workspace directory full of files that are directly available to the agent as it runs inside the container. Files the agent creates will be saved here too.
On first run OpenClaw asks you a lot of questions. Most of these are reasonably obvious but I still had to start over a couple of times to get everything right. Some that I found tricky:
- Onboarding mode: manual
- What do you want to set up?: Local gateway (this machine)
- Model provider. I decided to go for OpenAI Codex with ChatGPT OAuth, which then allowed me to authenticate against ChatGPT to spend tokens already covered by my $20/month OpenAI subscription. I did this because I've heard that OpenClaw can spend a lot of tokens on API plans, and using ChatGPT put an easy upper limit on how much it could spend. When you opt for this OpenClaw gives you a URL to open in your browser which redirects back to a non-running
localhostservice and displays an error message - you then copy and paste thatlocalhostURL back into OpenClaw to complete the authentication. Here's what that looks like. - Tailscale: I tried to configure this the first time and it resulted in a machine I couldn't use, so the second time I said "no".
Once it's up and running you can run:
docker ps
To see the container. Mine is running the image openclaw:local and has a container name openclaw-openclaw-gateway-1.
The other container provided by Docker Compose is called openclaw-cli and can be used to run the openclaw CLI commands for managing the instance.
This works for that, but you must run it in the same folder as that docker-compose.yml file.
docker compose run --rm openclaw-cli status
OpenClaw can communicate via a number of different messaging platforms, including WhatsApp and iMessage and Telegram and Slack and Discord. This means you can control the instance in your container directly from your phone.
I decided Telegram looked like the least hassle to set up.
You'll need a Telegram account. Then create a new bot by chatting to @BotFather on Telegram.
- Start a chat with @BotFather
- Send the command
/newbot - Follow the instructions to name your bot and get a token
That token can then be provided to OpenClaw as part of the initial setup wizard.
There's one remaining step: you have to pair your Telegram account with your new bot and your OpenClaw instance.
OpenClaw will send you a message via Telegram with the pairing code, then run this:
docker compose run --rm openclaw-cli pairing approve telegram <CODE>
At this point you should be able to message your bot directly from Telegram on your phone!
OpenClaw runs a default web UI on port 18789. If you access this directly at http://localhost:18789 you'll see an error telling you that you need to authenticate first.
To do that you need a special ?token=... URL parameter. This may have been displayed during setup, but if you lose it you can get a new one like this:
docker compose run --rm openclaw-cli dashboard --no-open
Follew the URL that spits out to access the interface.
Sometimes that's not enough either - you may see this error:
disconnected (1008): pairing required
For some reason the openclaw-cli container didn't work for me here, but this alternative way of running the openclaw commands did:
docker compose exec openclaw-gateway \
  node dist/index.js devices list
That shows a list of pairings, hopefully including a request that is not yet approved like this one:
Pending (1)
┌──────────────────────────────────────┬───────────────────────────────────┬──────────┬────────────┬────────┬────────┐
│ Request                              │ Device                            │ Role     │ IP         │ Age    │ Flags  │
├──────────────────────────────────────┼───────────────────────────────────┼──────────┼────────────┼────────┼────────┤
│ 6f9db1bd-a1cc-4d3f-b643-2c195262464e │ 8b7bbf4f69633058dc3beee8a56adbccf │ operator │ 172.18.0.1 │ 2m ago │        │
│                                      │ aafc8be8058bea8a06be1cb7bfad9b3   │          │            │        │        │
└──────────────────────────────────────┴───────────────────────────────────┴──────────┴────────────┴────────┴────────┘
To approve that, run this command:
docker compose exec openclaw-gateway \
  node dist/index.js devices approve \
  6f9db1bd-a1cc-4d3f-b643-2c195262464e
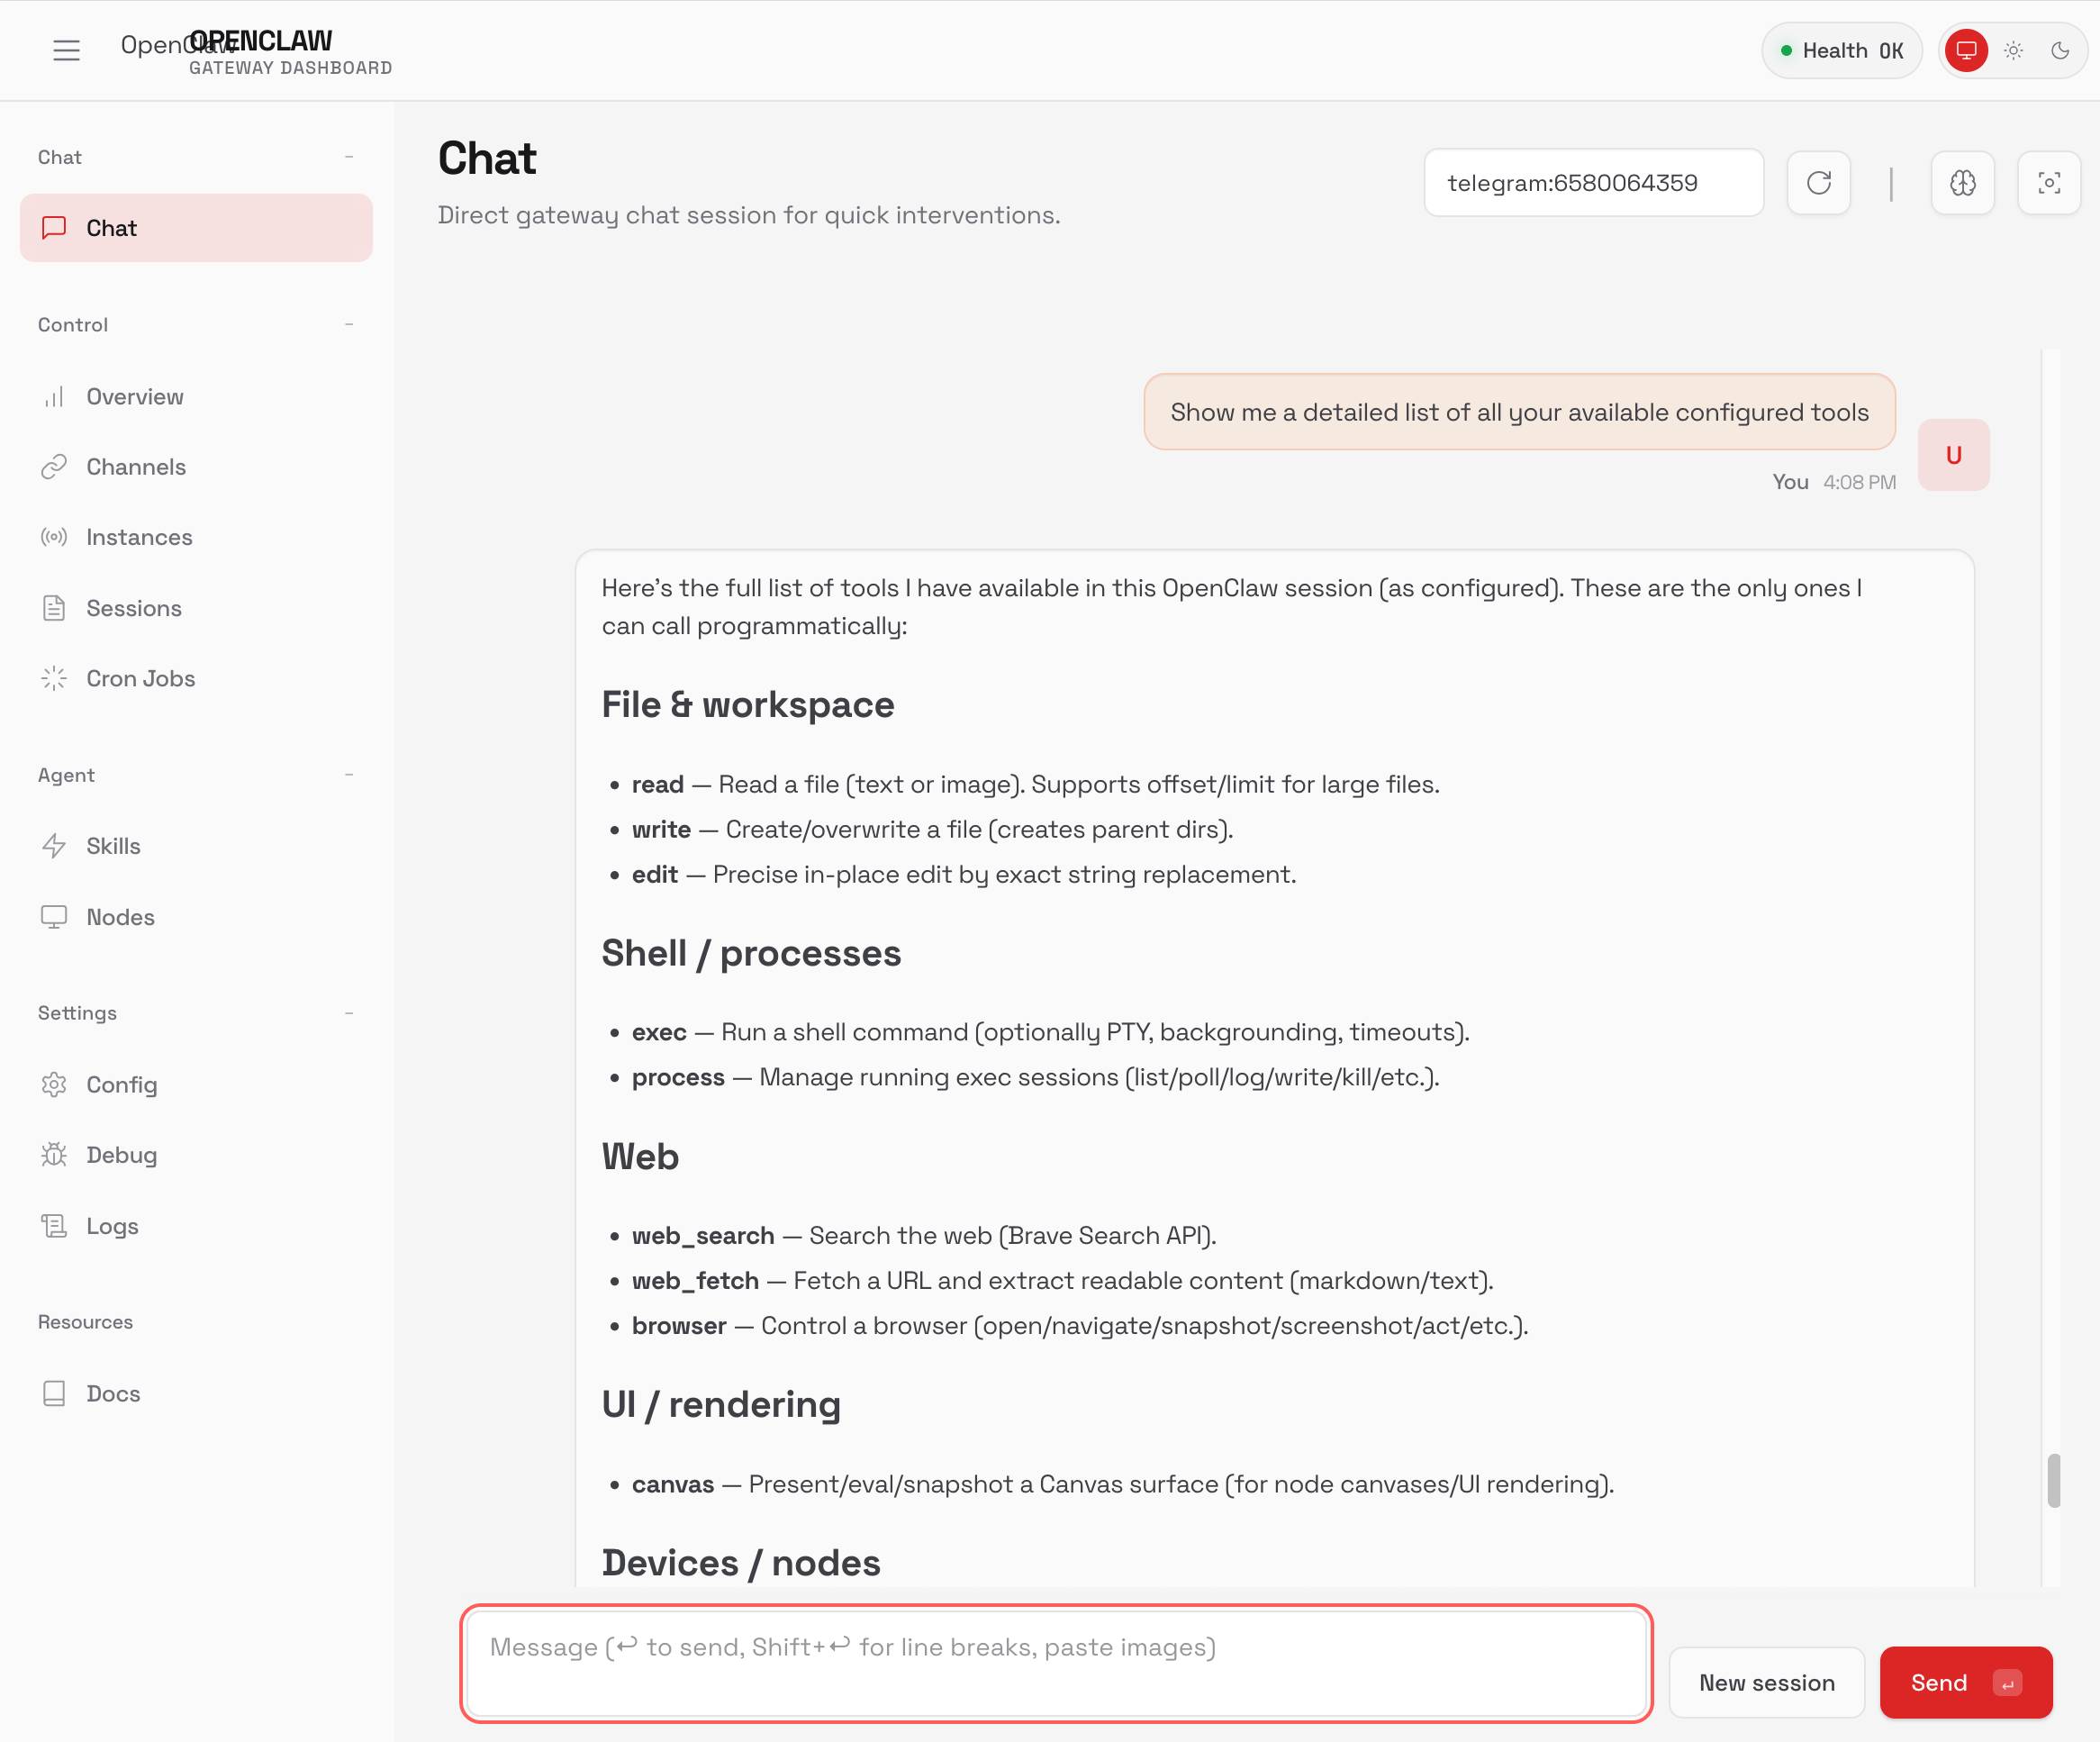
The dashboard UI looks like this, and has a whole load of different debugging tools plus a web chat interface:
I found myself wanting to install some extra packages, but the OpenClaw bot itself runs as a user without sudo access (probably for the best!)
You can access a Bash shell as root like this:
docker compose exec -u root openclaw-gateway bash
I installed extra packages there like this:
apt-get update && apt-get install -y ripgrep
Created 2026-02-01T15:59:07-08:00, updated 2026-02-01T22:08:05-08:00 · History · Edit